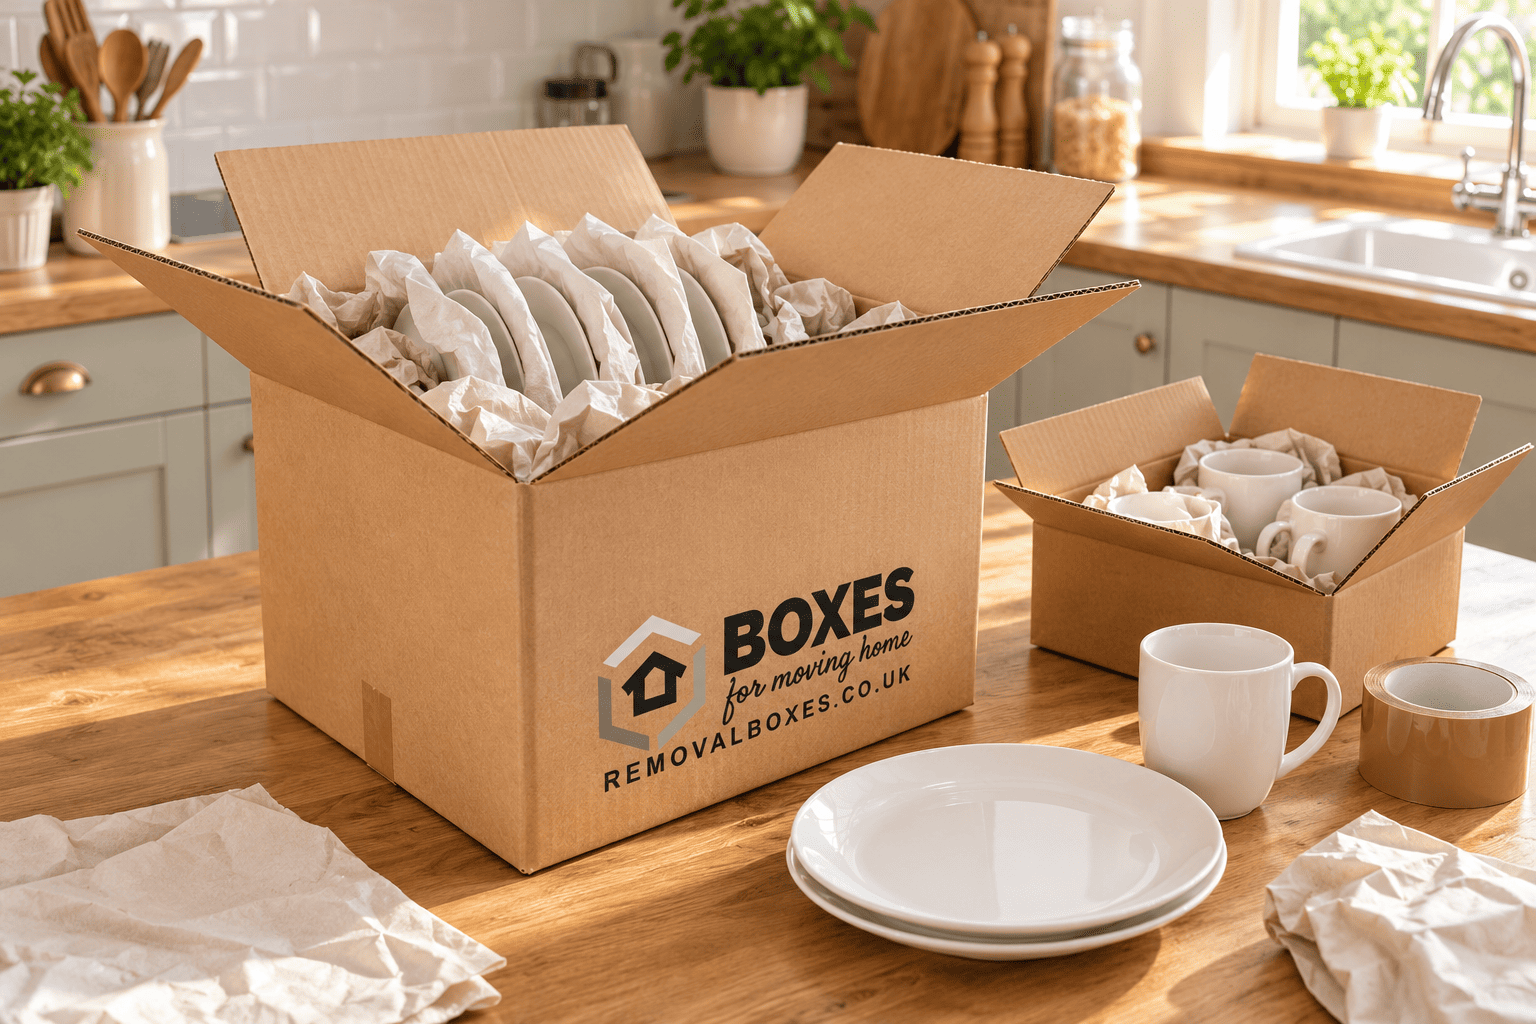
A kitchen can produce a surprisingly awkward collection of moving boxes. Plates feel manageable when you carry a few to the table. Add a full dinner set, serving bowls, and several mugs to one carton, and the weight adds up fast. Tins, glass jars, and small appliances can make the next box even heavier.
Start before you pack the first plate: arrange items by weight and fragility, choose appropriate boxes, and stop adding items once each load stays manageable. You can protect your possessions without filling every available centimeter with something heavy.
Use this kitchen packing plan to organize your cupboards, pack your removal boxes, and keep essentials within reach during your house move.
Sort Your Kitchen Before You Assemble the Boxes
Before deciding how many boxes to order, you should open all the cupboards and drawers. Check the back of the shelves, the area above the wall units, and any pantry storage. A kitchen that has several cast-iron pans requires a different packing plan than one which is mostly filled with lightweight plastic containers.
Group Items by Weight and Fragility
Create separate groups for crockery, glassware, cookware, food and appliances. Within those groups, identify particularly heavy items such as casserole dishes, stoneware bowls and tins. Keep them apart from delicate glasses and ceramics that need their own cushioning.
Know exactly what you intend to take; use up food in the cupboards before moving day, recycle empty packaging and set aside any equipment you want to donate. Don’t pay for moving boxes or transport space if you plan to replace or throw away the things you’re moving.
Leave a Small Working Kitchen Until the Final Day
Make sure you have enough plates, mugs, and cutlery for your household. Include one saucepan, basic cleaning supplies, and anything else you’ll need to prepare simple meals. Pack the baking equipment you use occasionally and the serving dishes, then slowly reduce the items left on the worktop.
This approach prevents you from reopening sealed boxes because someone needs a bowl for breakfast.
Choose Moving Box Sizes Around the Contents
Large moving boxes look convenient when you have an entire kitchen to empty. Their extra space can also encourage you to keep adding heavy items long after the load becomes difficult to handle. Select a variety of
moving boxes and match the size to the contents. Check the dimensions and names, since a medium box from one supplier can differ from a medium box from another.
Use Smaller Cartons for Dense Kitchen Items
RemovalBoxes.co.uk lists a 42-liter medium moving box measuring 457 × 305 × 305 mm. It’s more compact than the larger cartons in the range, but its capacity still doesn’t mean you should fill it with plates or tins. Split dense items across manageable loads. If a carton reaches a sensible carrying weight before it looks full, use lightweight cushioning to support the remaining space. Don’t add more cookware to make the box look properly packed.
Reserve Larger Boxes for Light and Bulky Items
The range also features 95-liter large moveable boxes and 127-liter extra-large moveable boxes. These should be considered when moving lightweight kitchen items such as plastic storage tubs, tea towels, and large, light containers, provided that all the items fit securely.
A double-wall box provides additional structure, but its size and construction don’t set a universal safe lifting weight. Follow any supplied product guidance and consider the person carrying the box, the route, and the equipment available.
Build a Stable Base Before You Start Wrapping
Clear a work surface and gather your packing materials. Keep packing paper, bubble wrap, packing tape, scissors, and a marker together so you can finish each box without searching through drawers.
Inspect cardboard boxes for damp patches, split corners, and damaged seams. Assemble each carton according to its instructions. Seal the bottom center seam and the two edge seams with suitable packing tape to form an H pattern. Tape cannot compensate for weakened cardboard, so replace damaged cartons.
Place a cushioning layer on the base before placing the delicate items inside. Packing paper that has been crumpled can act as a protective layer, and bubble wrap can provide a cushioning effect for the susceptible parts. Keep the base level so it supports the contents without letting them rock.
Pack Plates and Bowls in Manageable Groups
Dinnerware often creates the heaviest kitchen cartons because individual pieces seem small enough to keep adding. Decide where each group belongs before you start, and keep checking the load as it builds.
Wrap Plates Individually and Support Them Upright
Wrap each plate in clean packing paper. Place plates upright on their edges in a well-cushioned carton, with cushioning between them and around the sides. Keep them stable so they cannot roll, lean sharply, or knock together during handling.
Do not stack several plates directly against one another without protection. If the size or weight makes it uncomfortable to place them in the same box, keep serving platters separate from dinner plates. For particularly fragile or valuable pieces, provide extra protection appropriate to how they are constructed.
Cushion Bowls Without Forcing a Tight Nest
Wrap bowls individually, and place protective material between any pieces you nest. Avoid squeezing several bowls into a tight stack, which can leave rims and surfaces pressing against one another.
Keep heavy stoneware separate from delicate cups or glasses. Fill spaces with lightweight cushioning and support the group from the sides. The aim is to prevent movement without creating pressure that could damage the contents.
Give Glasses and Mugs Their Own Protection
Wrap glasses one at a time, cushion the outside, and loosely support the interior with clean paper. Protect mug handles individually rather than wrapping a sheet around the main body.
Stand suitable glasses upright in a cushioned box and separate neighboring pieces. For stemware, protect the stem, bowl, and base without twisting the wrapping tightly around fragile sections. Use purpose-made dividers to keep pieces apart when available.
Do not put pans, tins, and appliances in cartons that contain glassware. Even if a wine glass is well wrapped, it can still be damaged if a heavy object presses against it. Before sealing the box, carefully fill the gaps and add some cushioning on top of the contents without pressing on the rims or stems.
Split Cookware and Pantry Supplies into Separate Loads
Pots, pans, and cupboard food need different treatment from fragile tableware. Their weight and shapes can make a box unbalanced, particularly when you pack everything from one shelf together.
Nest Pans Carefully and Pack Lids Separately
Clean and dry cookware before packing. Nest compatible pans with paper or another suitable protective layer between surfaces. Keep handles from pressing against the carton walls or surrounding items.
Wrap each glass lid individually and place the wrapped lids separately from the heavy cookware. Pack the cast-iron pieces into small, manageable groups and provide appropriate support. Do not stack heavy pans onto other kitchen items.
Divide Tins and Contain Bottles
Spread tins and jars across several suitable boxes. Pack bottles upright, check their closures, and use a separate leak-resistant container or bag where appropriate. Keep food away from cleaning products.
Pack chilled and frozen food separately from ordinary cardboard boxes using insulated transport with proper temperature control, rather than putting perishable goods in a carton with dry cupboard items. Reduce the amount you have to move by planning your meals ahead of the move.
Pack Small Appliances After Cleaning and Drying Them
Empty crumbs from the toaster, drain the kettle, and clean food processors before packing. Allow everything to dry fully. Remove loose accessories, wrap them separately, and label them so you can match each attachment to its appliance later.
Use original packaging when it remains suitable and intact. Otherwise, choose strong packing boxes with room for cushioning around the appliance. Check the manufacturer’s instructions for delicate equipment and any specific transport requirements.
Make sure that the cables are together, and don’t pull them too tightly around any controls or fittings. Pack sharp blades and knives in solid protective sheaths or suitable holders, then place them so they can’t move around or puncture the packaging. Clearly label any sharp items. Don’t put an appliance in a crockery box just because there is still a gap.
Check the Load Before You Close the Flaps
Pause when each box is nearly ready. Check the contents and the carton before adding the final cushioning layer.
- If the load becomes hard to manage, remove the heavy objects.
- Fill gaps with light cushioning to keep objects from sliding into each other.
- Make sure that the base is level and the sides aren’t bulging.
- Don’t push the flaps down onto the contents.
- If items press into the cardboard or make the box unstable, repackage them.
No single weight makes every kitchen box safe for every person. Consider stairs, carrying distance, available help, and your remover’s requirements. If the load feels awkward, divide it before moving day. Ask for help or use appropriate handling equipment when needed.
Label Boxes for the People Carrying and Unpacking Them
Write the destination room and a short contents description on the top and at least one side. Labels such as “Kitchen — mugs and glasses” or “Kitchen — pans” explain more than “Kitchen items”.
Make sure that the contents are clearly marked and that any carton requiring special handling is identified. Labels tell you what is inside, but they don’t replace cushioning or proper loading.
Number your kitchen boxes and keep a brief list on your phone. Note which cartons contain everyday crockery, food, and appliance accessories. When unloading, place heavier boxes where they remain stable and cannot crush lighter or fragile cartons. Keep walkways clear so no one has to step over packing materials while carrying a load.
Keep Your First Meal Out of the Main Packing Stack
Prepare a clearly labeled essentials box with a few mugs, plates, cutlery, tea towels, washing-up supplies and easy snacks. Keep the kettle accessible and carry it securely, following its transport instructions.
Make it clear to anyone else helping with the move which box you need first, and keep it separate from the main stack of kitchen boxes so you can make a drink or prepare a simple meal without opening several cartons.
Before ordering, compare the box sizes in the
house moving packs and check whether you need extra-compact cartons or protective materials. Pack contents vary, so confirm what each bundle includes. Browse removal boxes, packing paper, bubble wrap, and packing tape to gather supplies suited to your kitchen. Start with the heaviest cupboards, separate the dense items, and leave enough room to protect each fragile piece.